


 Project Example
Surface Repair
Minor Hole Repair
Designed to fill minor holes in smooth leather before sanding and applying a compatible leather paint.
👍 20,000+ Satisfied Customers
🌈90-Day Easy Returns,Try it risk-free with a full money-back guarantee

Lifetime Guarantee &
Free Exchanges

Safe & Sustainable
Materials

Quick Fix
Couldn't load pickup availability

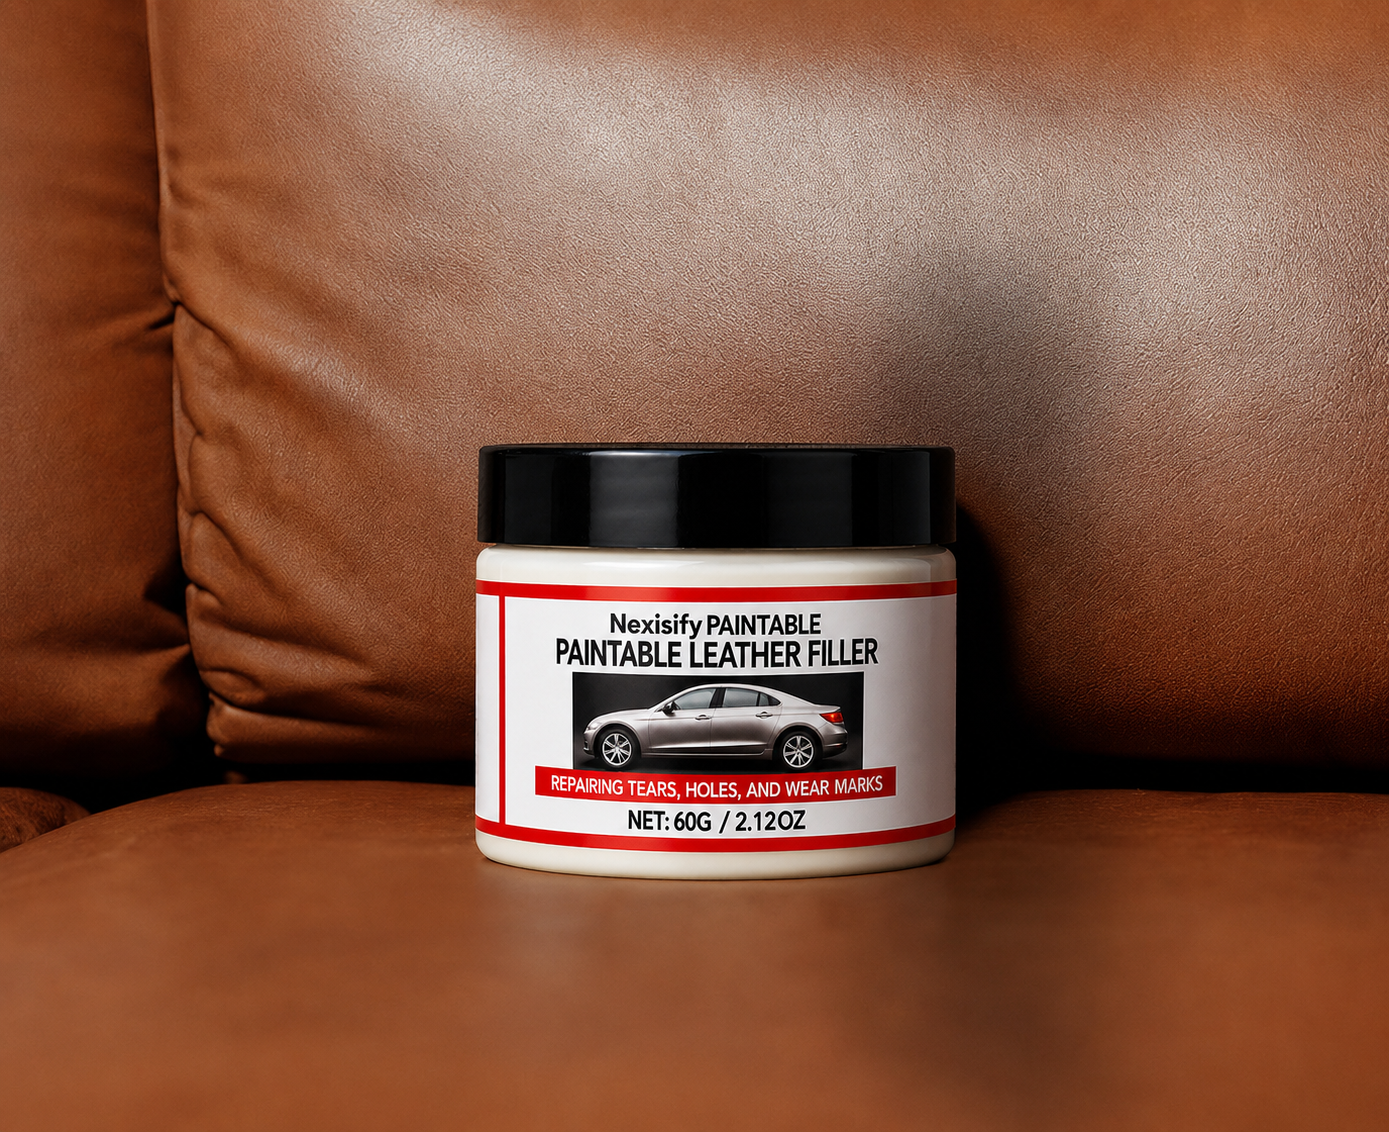
A flexible, paintable repair filler designed to fill minor scratches, cracks and small damaged areas before recoloring. Once dry, the repaired surface can be lightly sanded to create a smoother and more even finish.
Flexible finish
Dries with flexibility to help reduce cracking when the
repaired surface moves during normal use.
Paintable and customizable
Apply a compatible leather paint over the dry filler to help
blend the repaired area with the surrounding material.
Buildable application
Apply several thin coats when filling deeper damage, allowing
each coat to dry before adding the next layer.
Suitable materials
Always test the complete preparation, filler and paint process on a small hidden area before repairing a visible section.
| Size | 2 oz / approximately 60 ml |
|---|---|
| Item form | Paintable repair filler paste |
| Finish | Flexible and sandable after drying |
| Application | Apply in thin, buildable layers |
| Recommended for | Minor scratches, cracks, small holes and surface imperfections |
| Suitable surfaces | Leather, vinyl, patent leather, vegan leather, bonded leather, pleather and selected foam surfaces |


“Restore scratches, cracks and minor damage instead of replacing the items you already love—creating a smooth, flexible surface that is ready for recoloring.”Repair, Restore & Recolor
Repair Project Gallery
Explore practical repair applications for minor holes, scratches and worn surfaces. Build the filler in thin layers, sand it smooth and prepare the area for compatible recoloring.
Project Example
Designed to fill minor holes in smooth leather before sanding and applying a compatible leather paint.
 Surface Detail
Build up scratched areas using thin coats, allowing each layer to dry completely before lightly sanding.
 Footwear Repair
Suitable for repairing minor holes and scratches on many sneaker midsoles before refinishing the affected area.
 Flexible Finish
The filler dries to a flexible finish to help reduce future cracking and tearing in appropriately prepared repair areas.
Suitable for many restoration projects involving smooth leather and vinyl surfaces.
Suitable for patent leather, vegan leather, bonded leather, pleather and selected foam surfaces.
 Application
Apply a thin coat and let it dry completely. Sand lightly between coats and repeat until the damaged area has been filled.
After sanding the final layer smooth, remove the dust and apply a compatible acrylic leather paint. Allow the painted area to dry for at least 48 hours before bending or flexing it.
Results depend on surface condition, preparation, application thickness and the compatibility of the finishing products used.

Leather & Sneaker Restoration
Repair minor scratches, small holes, shallow cracks and worn areas before repainting the surface.
This paintable repair filler helps rebuild minor damaged areas on compatible smooth and flexible surfaces. Once completely dry, the repaired area can be lightly sanded to create a smoother foundation for painting.
Paintable after fully drying
Suitable for thin, layered application
Can be lightly sanded before painting
Designed for detailed restoration projects

Fill · Sand · Paint
Apply the repair filler in thin, even layers to gradually rebuild damaged areas. Allow every layer to dry completely before adding more filler.
Once the damaged area has been filled, lightly sand the surface until it feels smooth and even. Complete the restoration with a compatible flexible paint in the required color.
Suitable for small holes, scratches, shallow cracks and worn surfaces. Severe tears or structural damage may require professional repair.

Restore Instead of Replace
Careful preparation, several thin filler layers and sufficient drying time help create a cleaner foundation for repainting.
Finish the repaired area with a compatible flexible paint to restore suitable shoes, bags, jackets, accessories and other detailed projects.
Avoid applying one excessively thick coat. Make sure every layer is completely dry before sanding, painting or applying additional filler.

Practical features designed to make repair, smoothing and recoloring easier.
Fill minor holes, scratches and surface imperfections using thin, controlled layers before recoloring.
The filler dries with flexibility to help reduce cracking and tearing when the repaired material moves.
Suitable for many restoration projects involving smooth leather, vinyl, patent leather, vegan leather, bonded leather, pleather and selected foam surfaces.
Apply several thin coats for deeper damage and allow each coat to dry completely before adding another.
Lightly sand between dry coats and smooth the final layer to follow the original contours of the surface.
Once fully dry and smooth, apply a compatible leather paint to blend the repaired area with the surrounding finish.
How To
Got More Questions?
Nexisify Paintable Repair Filler is intended for many smooth and paintable surfaces. Compatible materials may include smooth leather, vinyl, patent leather, vegan leather, bonded leather, pleather and selected foam surfaces.
Test the complete preparation, filling and recoloring process on a small hidden area before treating a visible section.
Yes. Allow each thin coat to dry completely, then sand it lightly before applying the next coat. After the damaged area has been filled, lightly sand the final layer until the surface feels smooth and even.
It is designed for minor holes, scratches and small surface imperfections. Several thin coats can be used to gradually build up deeper areas before sanding and recoloring.
It is intended for cosmetic surface repairs rather than replacing material that is structurally torn or missing.
It may be used for suitable restoration projects involving leather, vinyl, patent leather, vegan leather, bonded leather, pleather, foam and many sneaker midsoles.
Surface preparation and adhesion can vary, so always test first and make sure the material is clean, dry and free from loose debris.
Yes. Once the final filler layer is completely dry and has been sanded smooth, remove all sanding dust and apply a compatible acrylic leather paint over the repaired area.
Apply thin paint layers to help blend the repair with the surrounding finish.
Drying time can vary with coat thickness and working conditions. Do not sand or apply another coat until the current filler layer is completely dry.
After the completed repair has been painted, allow the painted area to dry for at least 48 hours before bending or flexing it.
This paintable repair filler is designed to restore minor holes, scratches, cracks and surface imperfections on smooth leather and other compatible materials.
The buildable paste can be applied in thin layers and lightly sanded after drying to produce a smoother repair surface. Once the repair is complete, apply a compatible leather paint to help blend the area with the surrounding material.